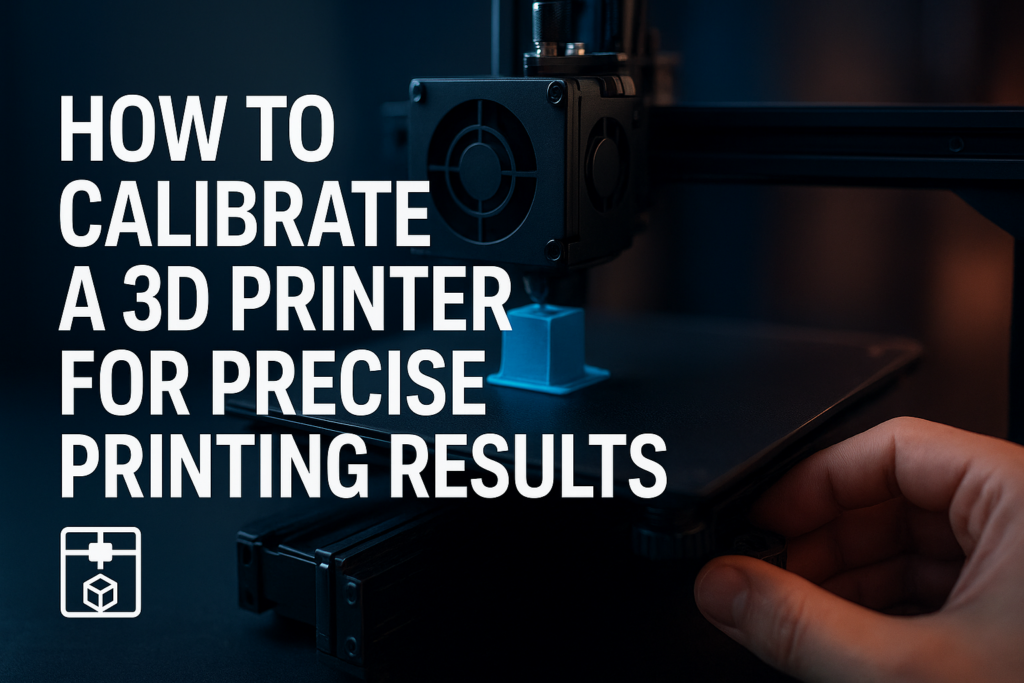
Achieving precise, high-quality prints hinges on correctly calibrating your 3D printer. Calibration aligns the mechanical and software components, ensuring every layer of filament aligns accurately with your model’s dimensions. Misalignment can lead to warped prints, poor adhesion, and wasted material.
This guide covers everything you need to know about how to calibrate a 3d printer effectively. You’ll find practical steps, real-world tips, and actionable insights to enhance your printing experience and reliability.
Table of Contents
- Why Calibration Matters
- Steps to Calibrate a 3D Printer
- Bed Leveling Guide
- Extruder Calibration
- Temperature Calibration
- Advanced Calibration Tips
- Calibration Techniques Comparison
- Frequently Asked Questions
Why Calibration Matters in 3D Printing
Calibrating your 3D printer is the foundation for achieving dimensional accuracy, proper bed adhesion, and consistent layer quality. Every 3D printer—whether an FDM (Fused Deposition Modeling) or SLA (Stereolithography)—has mechanical components subject to tolerances that can lead to variations in print results.
Without calibration, these variances cause issues like:
- First-layer adhesion failure
- Dimensional inaccuracies
- Stringing and under-extrusion
- Warping and layer misalignment
Getting your printer dialed in saves time and filament, reducing frustration and wasted resources.
Steps to Calibrate a 3D Printer
Let’s break down the essential calibration procedures essential before starting any print job:
1. Mechanical Inspection and Cleaning
- Check frame rigidity and tighten all bolts
- Clean rods, pulleys, and belts for smooth motion
- Inspect belts for wear or slack
Mechanical soundness provides a stable base for all other calibration steps.
2. Level the Print Bed
Uneven beds cause varying filament extrusion heights, leading to poor adhesion or nozzle collisions.
3. Calibrate the Z-Axis Offset (First Layer Height)
The nozzle’s vertical distance from the bed determines how well the first layer sticks and how accurate layer heights are.
4. Extruder Calibration (Flow Rate and Steps per mm)
Inaccurate extrusion leads to over or under-extrusion, impacting print strength and appearance.
5. Temperature Optimization
Different filaments require specific temperature ranges for ideal flow and adhesion.
6. Test Print and Adjust
Use calibration models like cubes and benchies to evaluate the results and make fine adjustments.
Bed Leveling Guide
There are three common methods of leveling:
- Manual Leveling: Using a piece of paper, slide it between the nozzle and bed at multiple points (usually the four corners and center) to achieve slight resistance. Adjust the bed screws accordingly.
- Automatic Bed Leveling (ABL): Sensors like BLTouch probe points on the bed and adjust the nozzle height automatically during prints.
- Mesh Bed Leveling: Creates a bed height map compensating for uneven surfaces throughout the print area.
Manual leveling tips:
- Warm up the bed and nozzle before leveling, as materials expand with heat.
- Repeat the process multiple times since adjustments at one corner may shift others.
Extruder Calibration
Calibrating the extruder is vital for accurate filament feeding. Here’s how to check and calibrate extruder steps per millimeter (steps/mm):
- Mark Filament: Measure and mark exactly 120 mm of filament starting at the extruder entry point.
- Extrude Filament: Using your printer’s controls (e.g., via software like Pronterface or OctoPrint), command the extruder to push 100 mm of filament.
- Measure Remaining Filament: After extrusion, measure the distance from the entry point to the mark.
- Calculate Actual Extrusion: Subtract this measurement from 120 mm to know how much filament was actually extruded.
- Adjust Steps/mm: Use the ratio of commanded vs. actual extrusion to update the extruder steps/mm in your firmware or printer settings.
This process ensures your printer delivers the correct amount of filament, improving dimensional accuracy and print strength.
Temperature Calibration
Every filament brand and type has an optimal temperature range affecting print quality:
- Too low: Poor layer adhesion and weak prints
- Too high: Stringing, blobs, or overheating artifacts
Method to calibrate temperature:
- Run a temperature tower—a printed model changing extrusion temperature at different heights.
- Inspect areas for best surface finish, stringing, and layer bonding.
- Select optimal temperature based on visual results.
Advanced Calibration Tips
Tune Retraction Settings to Minimize Stringing
Retraction pulls filament back during travel moves to reduce stringing. Check retraction distance and speed in small increments. For example, increasing retraction speed from 35 mm/s to 45 mm/s can reduce oozing on some filament types.
Calibrate Linear Advance / Pressure Advance
These features adjust extrusion pressure during acceleration and deceleration, resulting in cleaner, sharper corners and consistent extrusion.
Use High-Quality Calibration Models
Models such as the 3D Benchy or standardized calibration cubes help identify widespread issues like dimensional inaccuracies and layer shifting.
Regular Maintenance
Even a perfectly calibrated printer can degrade over time. Regularly maintain your printer following manufacturer guidelines and recalibrate after hardware changes or upgrades.
Comparison of Key Calibration Techniques
| Calibration Type | Benefit | Difficulty Level | Tools Needed |
|---|---|---|---|
| Manual Bed Leveling | Cost-effective, basic improvement | Easy | Piece of paper, adjustment screws |
| Automatic Bed Leveling (ABL) | Reduces leveling time, more consistency | Moderate | ABL sensor (e.g., BLTouch) |
| Extruder Calibration | Improves print dimensional accuracy | Moderate | Calipers, filament mark |
| Temperature Tower | Optimizes filament temperature | Easy | Temperature tower STL, slicing software |
| Retraction Calibration | Minimizes stringing and oozing | Moderate | Stringing test model |
Frequently Asked Questions
How often should I calibrate my 3D printer?
Calibrate your 3D printer after assembly, hardware changes, or if you notice print quality degradation. For regular users, manual bed leveling before each print is good practice, while full calibration can be done monthly or quarterly.
What is the easiest way to level my print bed?
Manual bed leveling using a piece of standard printer paper works well for most printers. Slide the paper between the nozzle and the bed and adjust the screws until you feel slight friction consistently at multiple points on the bed.
Can I calibrate my printer using only software?
Software like calibration wizards and plugins help optimize settings, but mechanical calibration such as bed leveling and extruder steps requires physical adjustments. A combination of both produces the best results.
What if my prints keep warping despite calibration?
Warping often results from insufficient bed adhesion, incorrect bed temperature, or environmental drafts. Try using adhesives like glue sticks or PEI sheets, increasing bed temperature, and printing in an enclosed chamber.
For a wide selection of high-quality 3D printers and accessories to help you maintain consistent calibration and print quality, explore detailed reviews and buying guides at TheBestPrinter.net.
Key Takeaways for Precise Printer Calibration
- Begin with mechanical checks before adjusting settings.
- Level the bed carefully; repeat until consistent friction is felt.
- Calibrate extruder steps/mm regularly, especially after filament jams or hardware swaps.
- Use temperature towers and stringing tests to fine-tune printing temperatures and retraction.
- Invest in automatic bed leveling sensors if manual leveling becomes cumbersome.
- Keep calibration records to track changes and improve efficiency over time.
Mastering calibration empowers you to turn your 3D printer into a reliable tool that replicates your ideas accurately, cost-effectively, and with less frustration every time you print.
Leave a Reply